Terrain. Pre-built, scratchbuilt, un-painted, pre-painted, you name it - there is an option to suit most budgets. Hell, how about the old "book under the mat" technique?
I tend to want to go for an inexpensive and modular option. Usually this tends to be pretty time intensive and ends up being a holiday project (ala Hirst Arts) or never goes further than the purchase of materials and perhaps one or two moulds. As a "hobbyist", it goes against the grain to purchase pre-built/painted terrain. Testament to this is the boxes of crap I've accumulated over the years. How many pipe cleaners can a man have? Have I even used one or own a pipe? No. I've got more ice-cream sticks than the Paddlepop lion and apart from an abortive WWI trench project, they've only been used as a handy thing to blu-tac miniatures on or as a rudimentary cutting guide when the steel ruler disappears.
My place is small and putting a table's worth of terrain together is not an evening worth of work and without a dedicated space for it, these things tend to take over. I don't fancy ironing my work shirts on the back of Karak Eight Peaks or whatever and I was never very good at putting the toys away so building a fantasy town's worth of buildings in my apartment is out of the question.
There is pre-built and/or painted, though. You can pick up some wonderful houses from places such as Kobblestone and they tend not to be too expensive, but often as I'm about to pull the trigger on a purchase I realise that I can't really just buy the one or two pieces. The postage costs to Australia prohibit a large order and I don't think I could muster up the recklessness to hit the card up again and again to fill a table. If I had money to burn and the space..
So, that leaves me with a few remaining options, one of which being paper/card terrain. Not since the heady days of the cardboard Warhammer wyvern and the little cottage and tower that came with the Warhammer Fantasy 4th edition box set had I considered a card building worthy of the table. Don't get me wrong, in the hands of a Japanese person, a folded bit of card can look awesome.. my tendency is to build into a crumpled sphere something that should have the shape of a cube.
For about $400 with shipping, I could buy a CraftRobo or Silhouette cutter; a desktop printer-like machine that when fed a data file can make precise cuts. A fair few at places like the Worldworks forum swear by them as they seemingly take the drudgery out of the cutting and replace it with the annoyances of modern technology. I don't fancy dicking around with a new bit of gear and the cost of set up defeats the purpose of going for paper in the first place.
Ok, I don't have a Japanese person or a robot to cut and fold my paper. And what of the model itself?
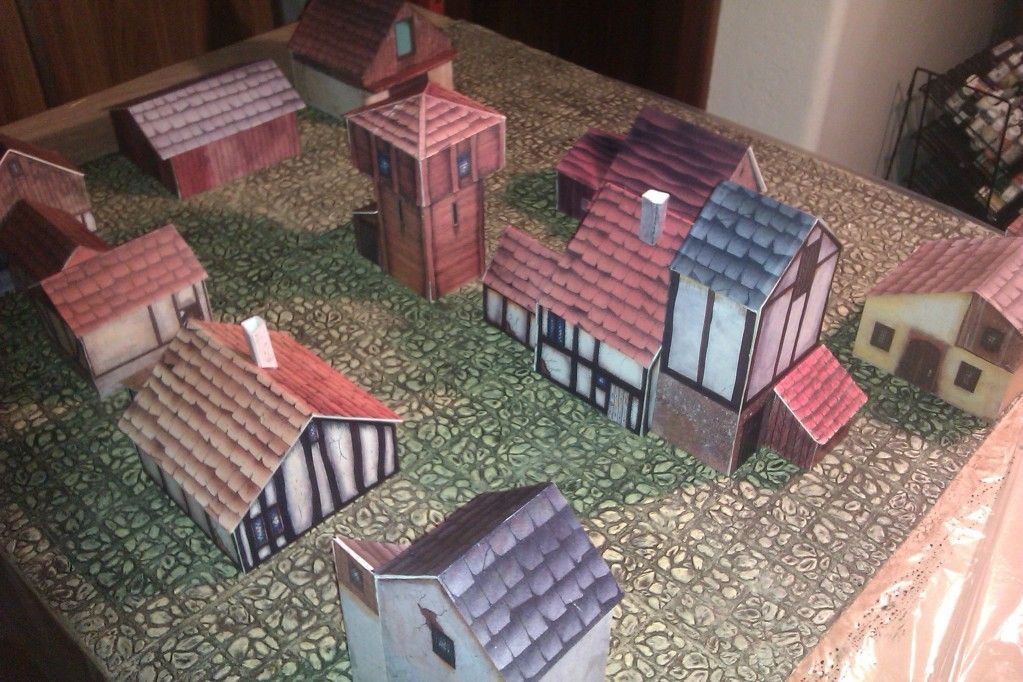
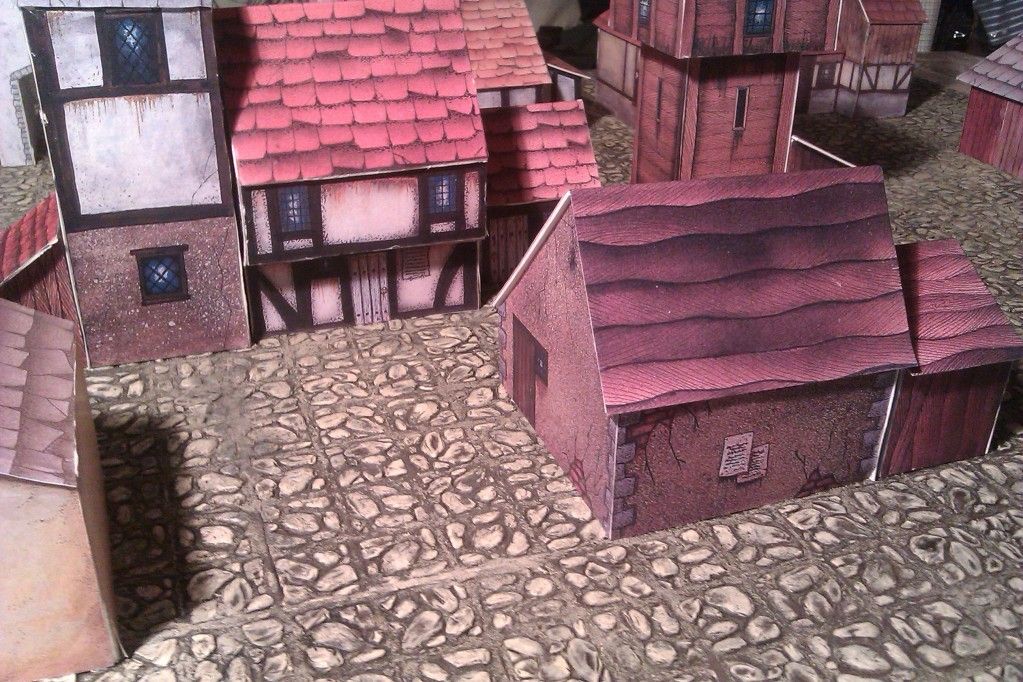
There are a few on the market and some that are available for free download. With rare exception, the available paper models are computer generated. Not an issue with sci-fi, but fantasy on the other hand needs a bit of character. A little bit of google-fu yielded the Warhammer Townscapes set; a product sold by Games Workshop in the 80's with a whopping 38 different medieval style buildings, ready to be cut out and assembled. Lovely stuff, this. Oozing with character and cleverly designed so as to be easy to assemble, I hit the jackpot. A kindly person has scanned the out of production sheets into a pdf file (see Google), and the quality and resolution is quite good.
I'm working my way through the set now, having built about half this weekend whilst being house ridden crook. I decided to print them out on A3 instead of A4 as I found that the A4 size sheets yielded a building a bit too small. A3 is perhaps a tad big, but it looks more "right" with modern 28mm figures. With 28mm not being an actual scale, it can be tricky to find scenic products from other hobbies (model trains for example) that fit in with the miniatures but that's another post.
Attaching the printed buildings in sections to foamboard was the best bet in the end. Foamboard is great in that it is a piece of foam, sandwiched between layers of paper and this gives the foam some protection and support. You should know what a knife and a ruler is, so on to the assembly..
To attach the walls of the building, I cut a groove along the side edges of the front and back facing walls, removing the foam and leaving the backing paper. It's then easy to wedge the wall to be attached up against this groove, PVA glue in the join, for a nice sharp bond.
I had some thin mounting board in a box somewhere and this made a great base for the roofs, being a bit sturdier that the recommended cereal box card.
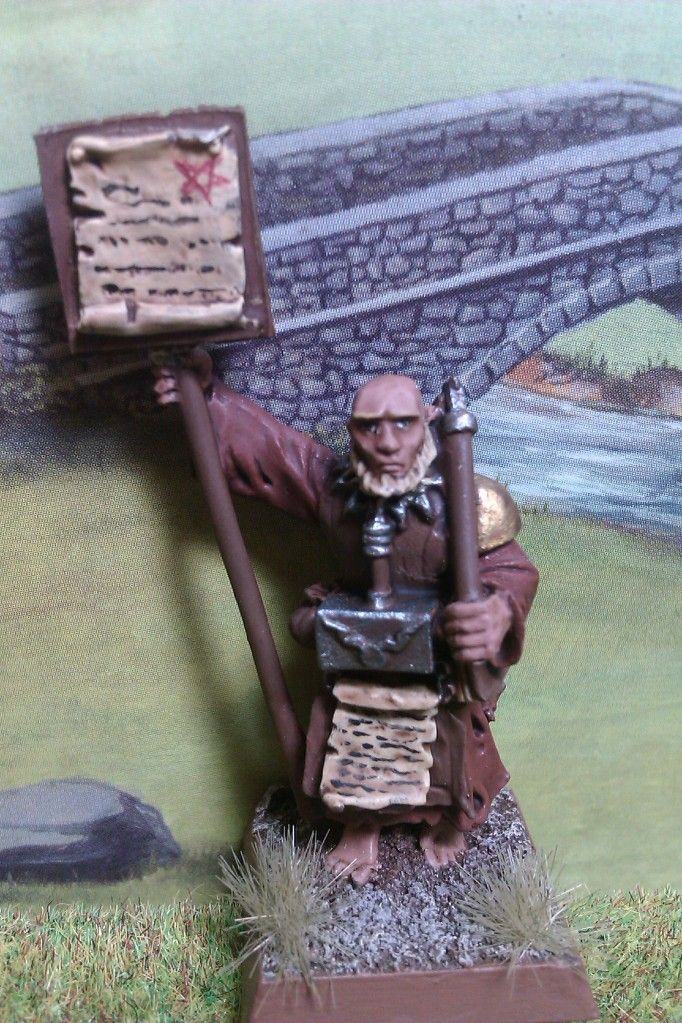
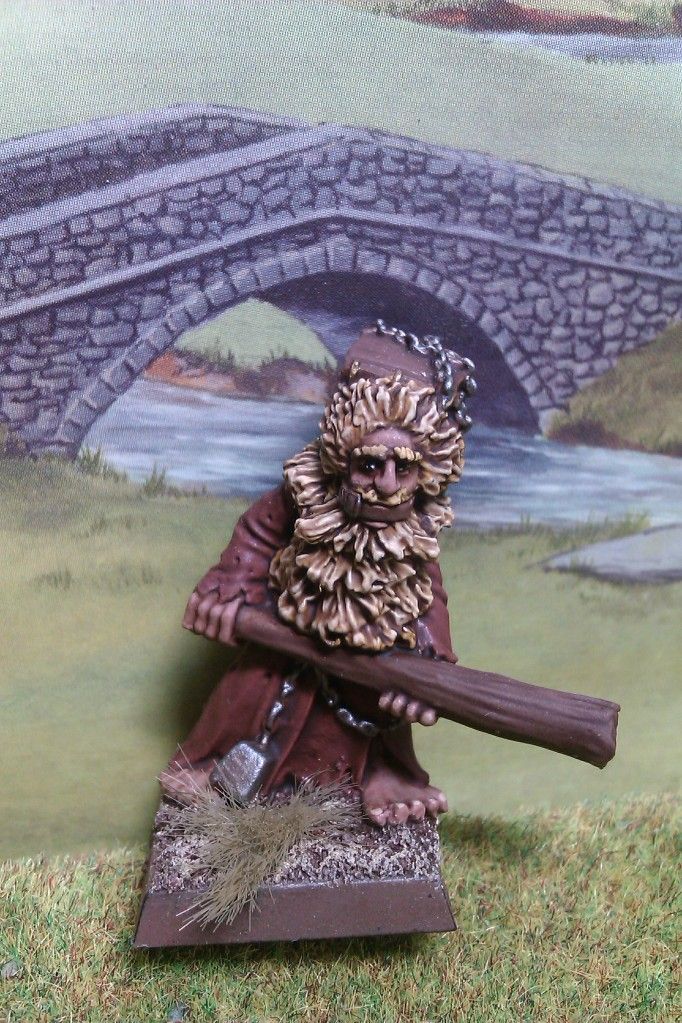
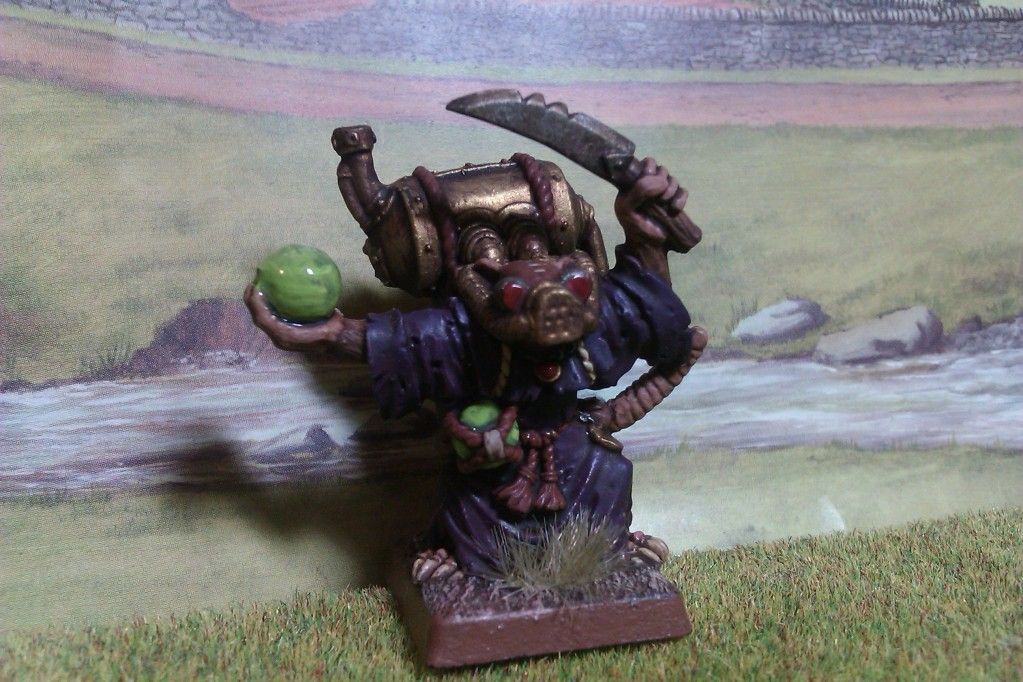
So, there you go. I tried edging the white areas near joins and the roofs with a brown marker pen, but I found that this stood out more than the white. Cheap, cheerful and reasonably sturdy. Definitely wont win me an award but it was great fun putting them together and I'm happy. Should suit the next city D&D adventure. Now I need to clean up and undercoat the pile of revolting peasants I have on my coffee table!