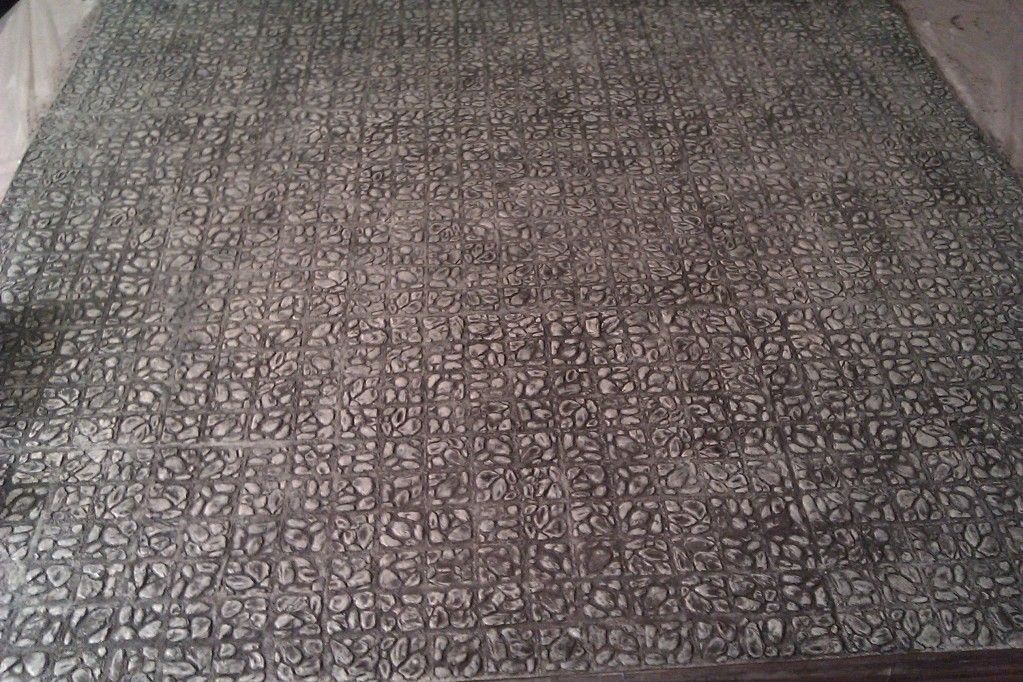
Painting a gaming mat that you've spent a considerable sum on is quite the daunting prospect, so this little latex number has been gathering dust in my cupboard with umpteen other bits and pieces that have been purchased and immediately stored.
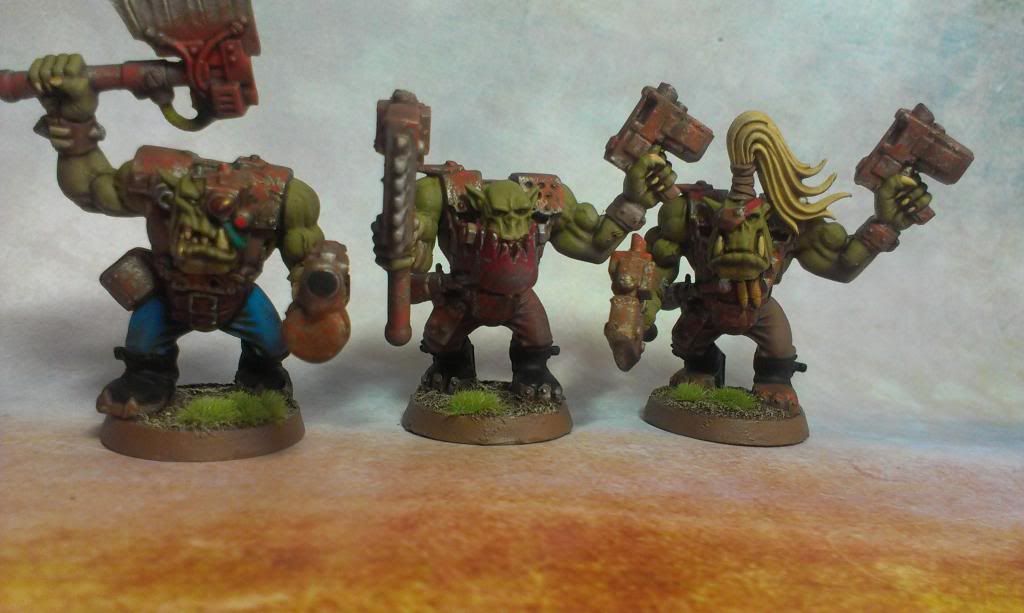
Well, as I've just recently purchased 90 odd Old Glory revolting peasants and have been constructing a bunch of medieval fantasy buildings out of the old Warhammer Townscapes set (to be posted once finished), I thought that I'd had better get move on.
Scouring the net, I've found only three painted examples of this particular mat. None of which provided instructions on the respective techniques applied, although I'm sure a brush and some paint was involved at some point..how hard could it be?
As I chose a very simple colour scheme, the mat proved to be very easy to paint indeed. I was tempted to paint each individual flag stone at a time. I'm sure would have provided the most aesthetically pleasing result, but knowing my patience threshold, I would have lit the thing on fire and tossed it into my neighbour's yard 3 hours in. To keep things simple and to allow for some compatibility with my sandstone coloured modular dungeon terrain, I went with a brown and then tan highlight. As the mat comes in a nice dark grey, I could have highlighted with some light grey/white and the job would have been done after a black wash to tone the highlights down.
So, paint roller in hand, loaded with a 50/50 mix of burnt sienna and water, I went at it. The surface takes paint exceptionally well, a good 5 minutes rolling and the 1st coat was on. As mentioned, the mat comes in a dark grey and I would have been happy with a semi-opaque finish, allowing the grey to come through, but the watered down brown went on like a dream.
Giving it a good 2 hours to dry, I then came back with a chuck of foam left over from a miniatures case. A few minutes dry brushing with "Naples Yellow" craft paint, sweeping across the top with broad strokes, was enough to pick up all the nice details and texture on the mat.
At this point I could have pulled the pin, but it really just didn't look grimey enough for a fantasy/medieval town square. I pinched a black wash recipe from somewhere:
Water in a jar; add black paint. The black paint I used was luckily completely crap, being exceptionally watery and thus good for a wash. Thank you rude 2 dollar shop lady!
Added to this, some Jo Sonja flow medium and a bit of window cleaning liquid.
Over the top with a brush, I spread it around, not letting it pool up too deeply as apparently this can cause cracking of the latex.
On the whole, I'm pleased with the result. The mat will be used for RPG combat (Dungeon Crawl Classics, D&D, etc) and for that it will definitely serve well, it being easily transportable and the squares easy to make out on the surface. I've heard good reports about these mats surviving transport and frequent use without a layer of protective varnish, so I've given that a miss for the moment.
Now, to finish those buildings...